The Easiest Way To Automate Print-on-Demand Product Creation
Overview: Skip the overly-technical custom-code workflows, and instead effortlessly automate print-on-demand product creation with the Bulk POD Product Creator. This post explains why traditional approaches feel complex, then walks through a simple, no-code flow (image placement, Example Product cloning, and AI-generated titles/descriptions/tags) and contrasts it with manual work. We finish with saved operations, time-cost math, and practical reasons this method is genuinely the easiest path.

Why POD Automation Looks So Complicated (And Why It Doesn’t Have To Be)
If you Google “how to automate print-on-demand product creation”, you’ll run into sprawling checklists: learning a platform’s API, provisioning API keys, reading schema docs, writing scripts to upload images, mapping variant IDs, handling rate limits and retries, and then layering on text generation for titles, descriptions, and tags. After that, you still have to solve image placement, sizing, and quality constraints—plus maintain the whole thing whenever the platform changes endpoints or IDs.
That’s a lot of engineering for a task that should feel more like: upload images → choose a product template → set a few rules → click a button. The Bulk POD Product Creator was designed to deliver exactly that experience.
What the Bulk POD Product Creator Does (High-Level Summary)
At a fundamental level, this tool takes a batch of artwork images and creates finished, SEO-ready products on your POD store—automatically. It uses an Example Product you select as the “role model” for structure (variants, pricing, settings), places each image into the print area using your chosen rule, and generates AI-written titles, descriptions, and tags for every product. The result is a consistent, professional catalog created in bulk with minimal input.
Plain-English workflow
- Select your images (dozens or hundreds at once).
- Pick the image placement rule (fit, preserve aspect ratio, or exactly match the example).
- Connect your store and choose the Example Product to clone.
- Choose how titles, descriptions, and tags will be generated (copy or AI, plus custom HTML/suffix/tag options).
- Click Create My Products. The system handles image placement, product creation, pricing/variants, and SEO text.
No Code Required — A Clean, Click-To-Configure Interface
You don’t have to wire up webhooks, juggle CSVs, or write a single line of code. The interface is a straightforward three-step panel:
- Step 1: Select your image files and pick the placement/resize mode.
- Step 2: Connect the store, then choose the Example Product to clone.
- Step 3: Define New Product Creation Rules (how titles, descriptions, and tags are produced).
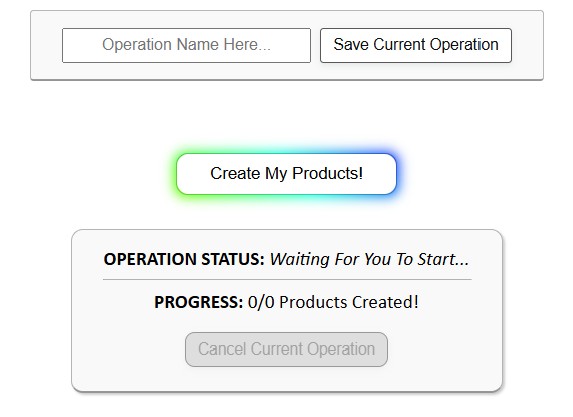
At the bottom, you can name and save the current operation for reuse and then press Create My Products! to run.
Step 1: Select Images + Choose Placement/Resize Mode

After clicking Choose Files, upload the artwork you want turned into products. Then select a placement mode—this tells the software exactly how to position each image inside the product’s print area.
Placement Modes Explained
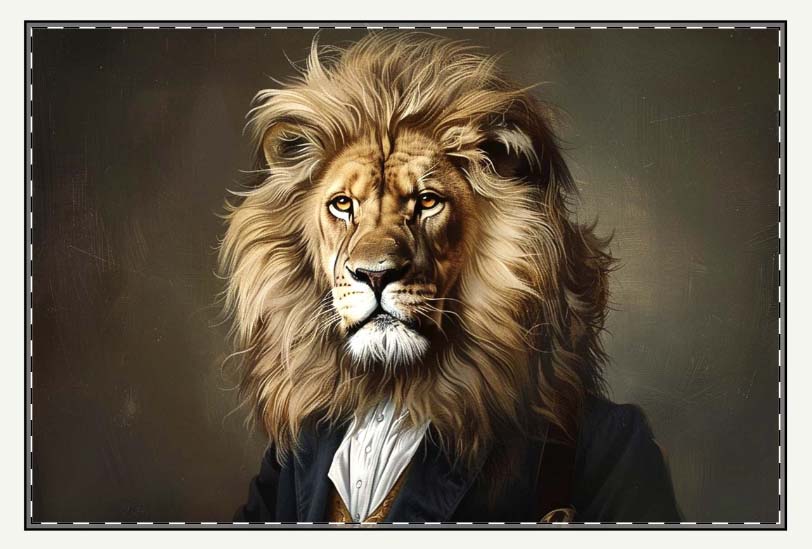
Stretch Images To Fit Print Area(s)
What it does: Scales the image to fully cover the print area in all variants. If aspect ratios differ slightly between variants (e.g., 18×24 vs 20×30), the tool still fills the entire space.
When to use it:
- Posters, canvas art, framed prints where edge-to-edge coverage is the goal.
- Mixed aspect-ratio variant sets where you want every size to appear “full bleed” without letterboxing.
Trade-off: If your artwork contains rigid geometry or text, aggressive stretching can introduce subtle distortion. For pure photography or abstract pieces, it’s often ideal.
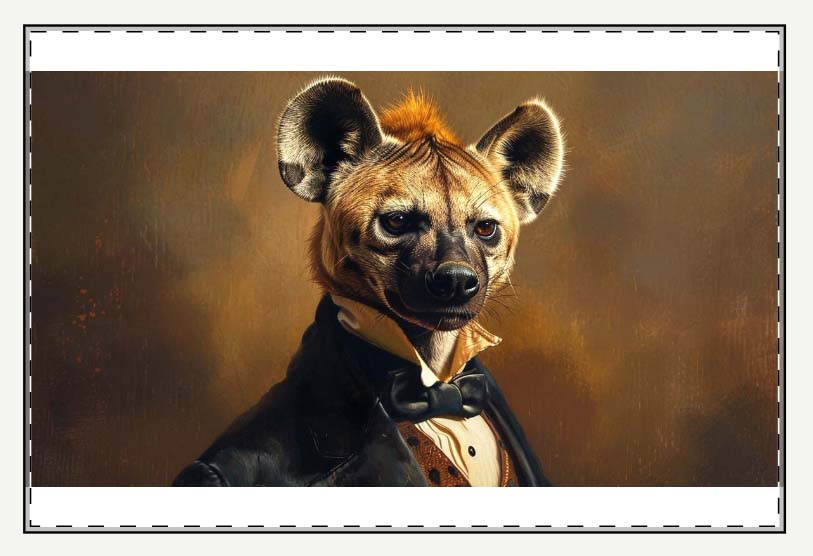
Preserve Image Aspect Ratios & Center
What it does: Resizes the image proportionally so nothing is stretched or squashed; centers it within the print area.
When to use it:
- Graphic tees or designs with type, logos, or precise geometry where distortion is unacceptable.
- Artwork where the original composition must be preserved exactly.
Result: You maintain integrity of the design. Depending on the print area and image aspect ratio, there may be margins or unprinted areas by design.
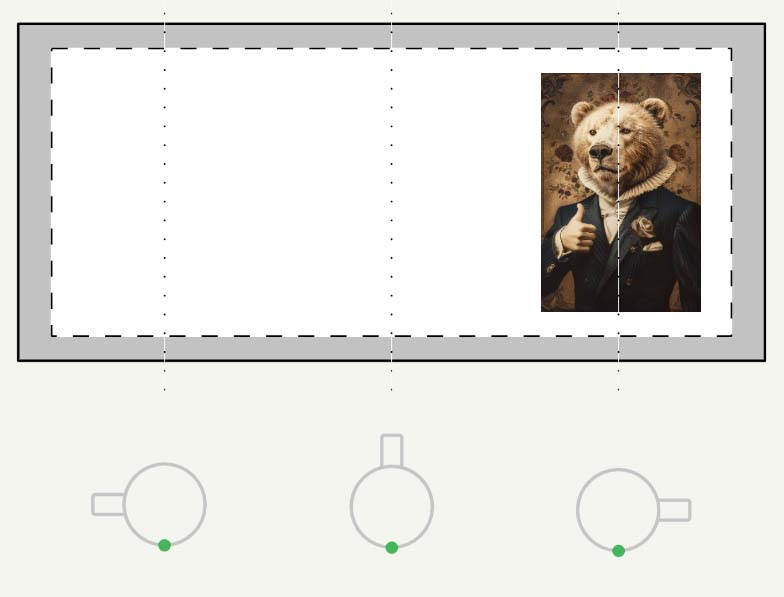
Exactly Match Example Image(s)
What it does: Replicates the exact placement and scaling used by the Example Product you’ll pick in Step 2.
When to use it:
- Complex print areas (mugs, tote bags, wrap prints) where precise placement matters.
- When you’ve already dialed in a perfect layout on the Example Product and want every new product to mirror it pixel-for-pixel.
Result: Consistency. Every new product inherits the Example Product’s placement blueprint.

Step 2: Connect Your Store & Choose the Example Product (The “Role Model”)
This is where the automation becomes concrete. Connect the tool to your POD store (via API token) and then select a single Example Product. The Example Product is the “role model” the system will clone for each artwork image you uploaded in Step 1.

What the Example Product carries forward
- Variant structure (sizes, orientations, materials)
- Pricing (per-variant, including your margin logic)
- Visibility and default options
- Any store-side attributes or policy text you already configured
- Image placement (only if you chose Exactly Match Example Image(s) in Step 1)
For each image you uploaded, the system creates one new product using that same structure and settings—only the artwork and SEO copy (Step 3) change.
Best practices for picking the Example Product
- Choose a “known-good” SKU. If you’ve already dialed in variants, pricing, and a layout that looks correct on every size, use that.
- Group by aspect ratio. If you sell 2:3, 3:4, and 1:1 formats, consider separate operations (and separate Example Products) for each family. This keeps previews clean and reduces edge cases.
- Lock pricing conventions. Verify that the Example Product reflects your current margin strategy. The clone will carry your price discipline into every new listing.
- QA a single run. Before you process hundreds of images, run a small batch (e.g., 3–5) and validate variants, placement, and previews. Adjust once; scale many.
Step 3: Product-Info Rules (Titles, Descriptions, Tags)
In New Product Creation Rules, you decide how the software will write the SEO text. You can Copy From Example Product (basic testing) or switch to Generate Using AI for each field, which is the recommended setup for scale and discoverability with the Bulk POD Product Creator.

AI-Generated Product Titles
Inside the Titles panel, pick either Simple or Compound:
- Simple Titles — clean and minimal (e.g., “Full Moon Landscape”). Useful for small, curated catalogs or strong brand plays.
- Compound Titles — multi-segment structures that intentionally combine subject + style + context + product type. Example with 3 subtitle segments: “Full Moon Landscape: Black & White Photography, Scenic Night Artwork, Serene Midnight Landscape”
Why this matters: compound titles let a single listing qualify for multiple intent clusters—without turning into a keyword dump. They reflect how real shoppers search (topic + descriptor + product noun).
Concrete query → title matches
- Query: black and white moon landscape poster
Title match: Full Moon Landscape + Black & White Photography + suffix — Poster Wall Art - Query: serene night landscape wall art
Title match: Scenic Night Artwork + Serene Midnight Landscape + the “Wall Art” suffix
Custom title text (suffixes) = intent alignment. Appending “— Poster Wall Art”, “— Canvas Wall Artwork”, “— Cotton T-Shirt”, etc., aligns your title with the exact noun buyers type. That usually lifts CTR because the listing reads like a direct answer to the query—reinforcing ranking as engagement improves.

AI-Generated Product Descriptions
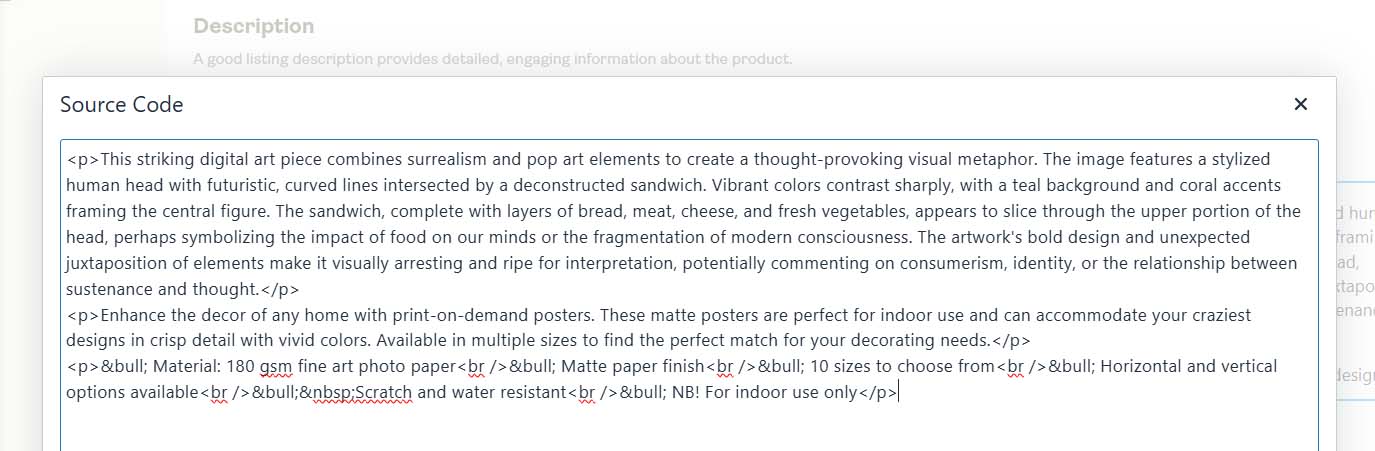
Descriptions expand long-tail coverage and remove buying friction. The tool generates 1–2 artwork-specific paragraphs (subject, style, palette, composition, mood) and then appends your custom HTML block with standardized product facts.
Example HTML block
<p>Enhance the decor of any home with print-on-demand posters.
These matte posters are perfect for indoor use
and can accommodate your craziest designs in crisp detail with vivid colors.
Available in multiple sizes to find the perfect match for your decorating needs.</p>
<p>
• Material: 180 gsm fine art photo paper<br />
• Matte paper finish<br />
• 10 sizes to choose from<br />
• Horizontal and vertical options available<br />
• Scratch and water resistant<br />
• For indoor use only
</p>How descriptions capture queries (query → copy mapping)
- Query: surreal architectural portrait poster
Match via AI paragraph: “surreal portrait,” “architectural elements,” “poster.” - Query: matte paper wall art black and white
Match via AI + HTML: “black and white” (AI) + “museum-quality matte paper” (HTML) + “wall art” (AI/HTML). - Query: fantasy seascape print turquoise ocean
Match via AI + HTML: “fantasy landscape,” “turquoise waters,” “seascape” (AI) + “print” (HTML). - Query: gift for modern home office wall decor
Match via AI + HTML: “modern living room or office decor,” “indoor use,” “multiple sizes.”
Bottom line: the descriptive prose broadens eligibility for long-tail searches, while the HTML block answers buying-criteria queries (materials, finish, sizes, care). Together they cover both discovery and conversion.

Click “Create My Products” — Then Let It Run
Once Steps 1–3 are set, name the operation (optional), and press Create My Products! The system processes your entire image set:
- Places each image per your placement rule
- Clones your Example Product’s variants, pricing, and settings
- Generates titles, descriptions, and tags per your rules
- Creates the products on your store automatically
You can watch the status counter advance (e.g., 0/100 → 100/100). If you ran a small QA batch first, you can confidently kick off a large drop and let the operation complete while you work on higher-value tasks.
Saved Operations: Load, Tweak, Re-Use
Any operation can be saved—placement mode, Example Product, title template, description paragraph count and HTML, tag cap, custom tags. Later, load it from the dropdown and follow the same quick rhythm:
- Load Saved Operation
- Choose Files (your new image set)
- Click Create My Products!
This is the fastest way to ship frequent drops. You keep your naming conventions, HTML facts, and tag strategy consistent across time—without rebuilding settings for every batch.
Common saved-operation patterns
- Poster (2:3) — Compound titles, 2-paragraph description, matte-paper HTML, 20 tags + custom tags
- Canvas (3:4) — Compound titles, 1-paragraph description, canvas-care HTML, 18 tags + custom tags
- T-Shirts — Preserve aspect ratio, tee-care HTML, apparel-specific custom tags

No-Code Simplicity vs. Custom Code (Why Reinvent The Wheel?)
Custom code reality (the “sweaty” route)
- Read API docs, generate keys, map product/variant IDs
- Write image upload & placement logic; handle safe areas
- Implement retries and backoff for rate limits/timeouts
- Build templating for titles/descriptions/tags; wire in an LLM
- Maintain it whenever the platform changes IDs, variants, or auth flows
- Add logging, error handling, and dashboards so you can trust it
The Bulk POD Product Creator approach
- A single, self-contained UI that already does all of the above
- Placement rules, upscaling, Example Product cloning, and SEO generation built in
- Reusable operations for repeatable, governed catalog creation
- No brittle scripts to maintain, no hidden API changes to chase
Unless you’re a team that wants to own a custom toolchain long-term, there’s little upside in rebuilding what already exists—and a lot of downside in maintaining it forever.

Manual Grind vs. Automation (Time-Cost Reality Check)
Manual creation (per product) — a realistic sequence:
- Select product, sizes/variants; configure options (60–120s)
- Navigate to current artwork file, upload artwork; wait for processing (30–60s)
- Place/resize image for each variant; preview (60–180s depending on SKUs)
- Write title (30–60s if you’re quick; longer if you’re thoughtful)
- Write description (2–4 minutes for something decent)
- Generate/select tags (60–120s)
- Set prices/margins across variants (60–120s)
- Save, publish, verify live preview (30–60s)
Conservative total: ~8–13 minutes per product (assuming you’re experienced and moving quickly).
- For 100 products, that’s 800–1,300 minutes (≈ 13–22 hours).
- For 300 products, it’s 40–66 hours—a full work week or more, doing nothing but repetitive listing work.

With the Bulk POD Product Creator:
- Setup: 10–15 minutes to pick images, select the Example Product, choose placement mode, and set your SEO rules
- Run: Click Create My Products! and let the batch process in the background
- QA: Spot-check a sample of listings (e.g., 15–30 minutes depending on volume)
Even with generous QA time, you’re routinely saving dozens of hours per drop. More importantly, you eliminate the mental fatigue that creeps into manual listing work—your last product is as consistent and polished as your first.

Why This Feels “Unbelievably Easy”
- Fewer decisions per product. You decide once (in the operation); the system repeats perfectly.
- Fewer places to make mistakes. Conventions and templates are enforced by the tool.
- Fewer moving parts. No SDKs, scripts, or CSV gymnastics to keep in sync.
- More leverage everywhere else. The hours you get back go to marketing, design, CRO, email, and customer development—the work that actually grows revenue.
Wrap-Up
If the easy way to automate POD product creation means: upload images, pick a reference SKU, set a few rules, and click a button, then this is it. The Bulk POD Product Creator handles the tough parts—image placement, product cloning, and SEO text—so you can publish at scale without writing code or grinding through manual entries. Save an operation once, and you can ship future collections in minutes.