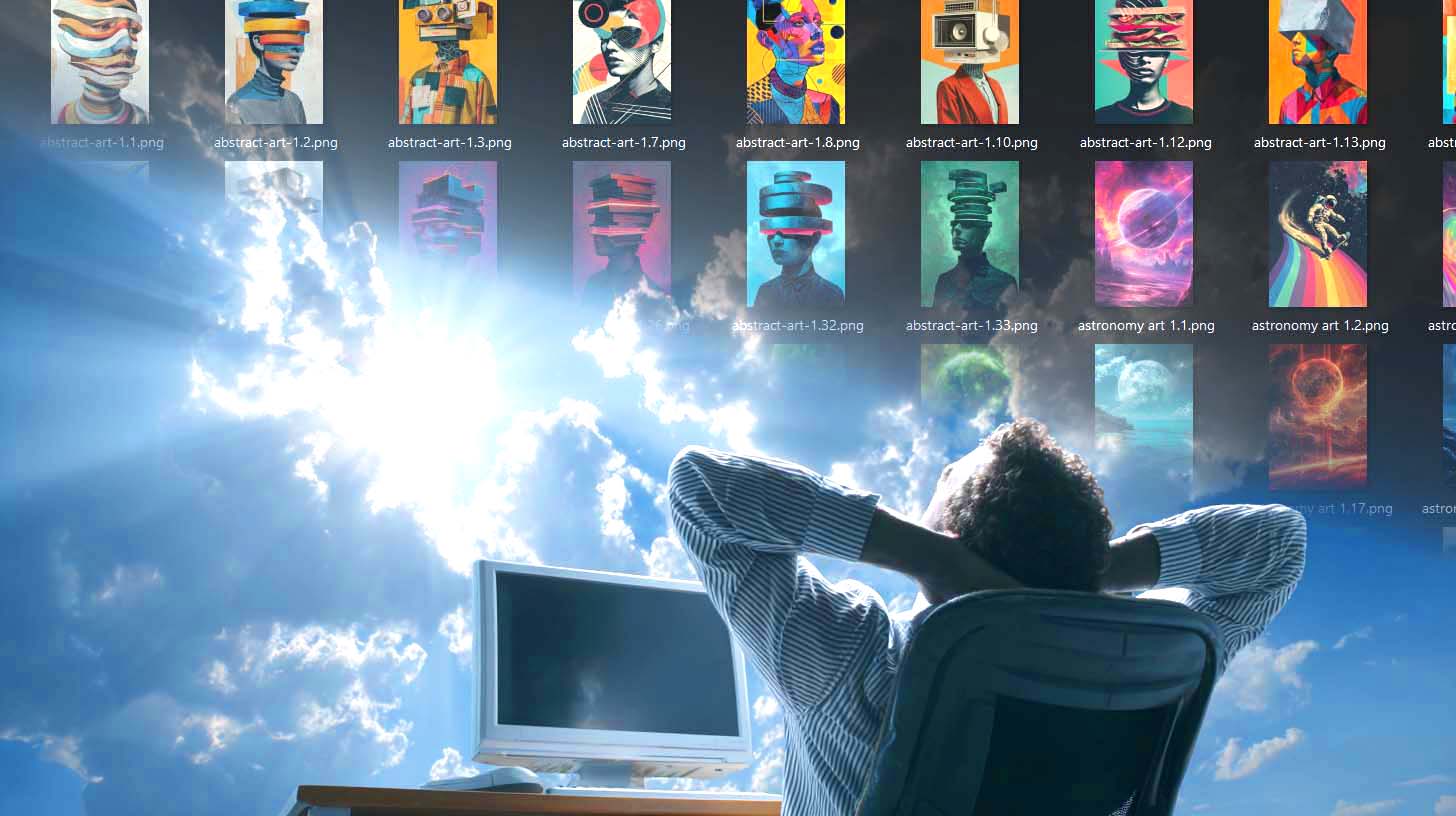
How To Do Bulk Etsy POD Product Uploads
Overview: This guide shows Etsy print-on-demand sellers exactly how to replace slow, one-by-one listing creation with a fast, bulk Etsy POD product upload process. We’ll outline the pains of manual uploads, introduce a streamlined automation approach, and walk through a simple three-step interface (image placement, Example Product cloning, and AI-generated titles/descriptions/tags) that publishes polished listings at scale. We’ll also cover saved operations, additional technical details, and a detailed example-usage scenario to make the process concrete.

The Problem: Why Manual Etsy POD Uploads Hurt Growth
Manually uploading Etsy print-on-demand products one at a time is the slow lane. It feels productive in the moment, but the hidden costs stack up quickly.
It throttles catalog growth. When you’re dragging images, selecting variants, and typing titles by hand, each listing demands far more time than it should. That means your store’s size is capped by your keyboard stamina, not by market opportunity. The end result is fewer listing pages in search, fewer surface areas for buyers to discover you, and a slower path to meaningful revenue.
It drains creative energy you should spend elsewhere. After the tenth nearly identical listing, your focus starts to blur. The mental fatigue of repetitive clicking steals time from designing new artwork, testing offers, and optimizing your Etsy storefront. Over a full week, this tradeoff snowballs into a real opportunity cost: the projects that actually grow the business get postponed so you can babysit the product form.
It introduces preventable inconsistencies and errors. Human input is fragile under repetition. Prices get mistyped, variants are missed, placements shift slightly, and copy gets copy-pasted with small mistakes. These micro-errors erode professionalism and can trigger customer confusion, returns, or support tickets—each of which costs time and money you never should have had to spend.
It sabotages SEO and discoverability. When you’re pressed for time, titles and descriptions get overly generic and repetitive. That repetition cannibalizes your own listings and fails to capture the long-tail queries Etsy and Google actually reward. With hundreds of potential buyers searching specific phrases every day, failing to diversify your keyword footprint is a compounding penalty.
It’s nearly impossible to maintain momentum at scale. Even if you power through a big batch once, the process doesn’t get easier next time. You’re staring at the same forms and making the same clicks, again and again. Momentum stalls because the workflow is inherently friction-heavy—there’s no leverage, only grind.
It makes testing and iteration painfully slow. Want to roll out a new pricing structure, a fresh variant mix, or an improved description template across a batch? Doing that by hand multiplies the work. Iteration speed is a growth lever; a manual process keeps that lever locked.

The Solution: Bulk Etsy POD Product Uploads with Automation
The antidote is to stop building listings one by one and start generating them in batches with a rules-driven workflow. Instead of wasting hours of time slowly uploading your Etsy listings manually, you can instead use an automation tool that converts your artwork images into Etsy POD products—complete with consistent placements, cloned variants and pricing, and high-quality product info—without the mind-numbing repetition.
The Bulk POD Product Creator handles that end-to-end process: you choose your artwork, connect your Etsy POD pipeline, point the tool at a dialed-in Example Product that represents your ideal structure, define how images should be placed and resized, and then let the system generate titles, descriptions, and tags automatically via AI. With a single run, dozens—or hundreds—of polished Etsy listings are created to your exact specifications.
In compact sequence form, here’s what it does:
- Ingests your selected artwork images.
- Connects to your Etsy POD flow and references your Example Product (your “role model”).
- Applies placement rules (stretch, preserve aspect ratio & center, or exactly match the example).
- Generates keyword-rich titles, descriptions, and tags with AI for each product.
- Clones variants and pricing, preserving margins across the batch.
- Publishes fully formed listings in bulk—uniform, accurate, and ready to sell.
Core benefits of using a bulk uploader for Etsy POD
Time compression at scale. With rules set once, each additional product is effectively “free” from an effort standpoint. Over a month, the hours saved compound into full workdays you can reinvest into design, marketing, or offer testing—the actual drivers of revenue growth.
Consistent, professional output. Every listing inherits the same variant structure, pricing logic, and placement standards. Consistency builds customer trust, reduces pre-purchase friction, and prevents the stray errors that tank margins or generate support headaches.
SEO that doesn’t degrade under fatigue. AI-generated titles, descriptions, and tags allow each listing to capture distinct long-tail phrases without you having to conjure a hundred variations manually. That diversity expands your organic footprint across both Etsy search and Google, lifting traffic for the entire shop.
Deeper Dive Intro: The 3-Step Interface You’ll Use
Before we go feature-by-feature, here’s the high-level flow you’ll follow inside the operation interface:
- Select Images & Placement Settings — choose the artwork to convert into products and define exactly how images should fit into each print area.
- Connect Store & Choose Example Product — authorize creation, then select the “role model” product whose variants, prices, and layout you want replicated.
- AI Titles, Descriptions & Tags — let the system analyze each image and generate high-quality, long-tail product info automatically (with options for custom HTML and custom tags).
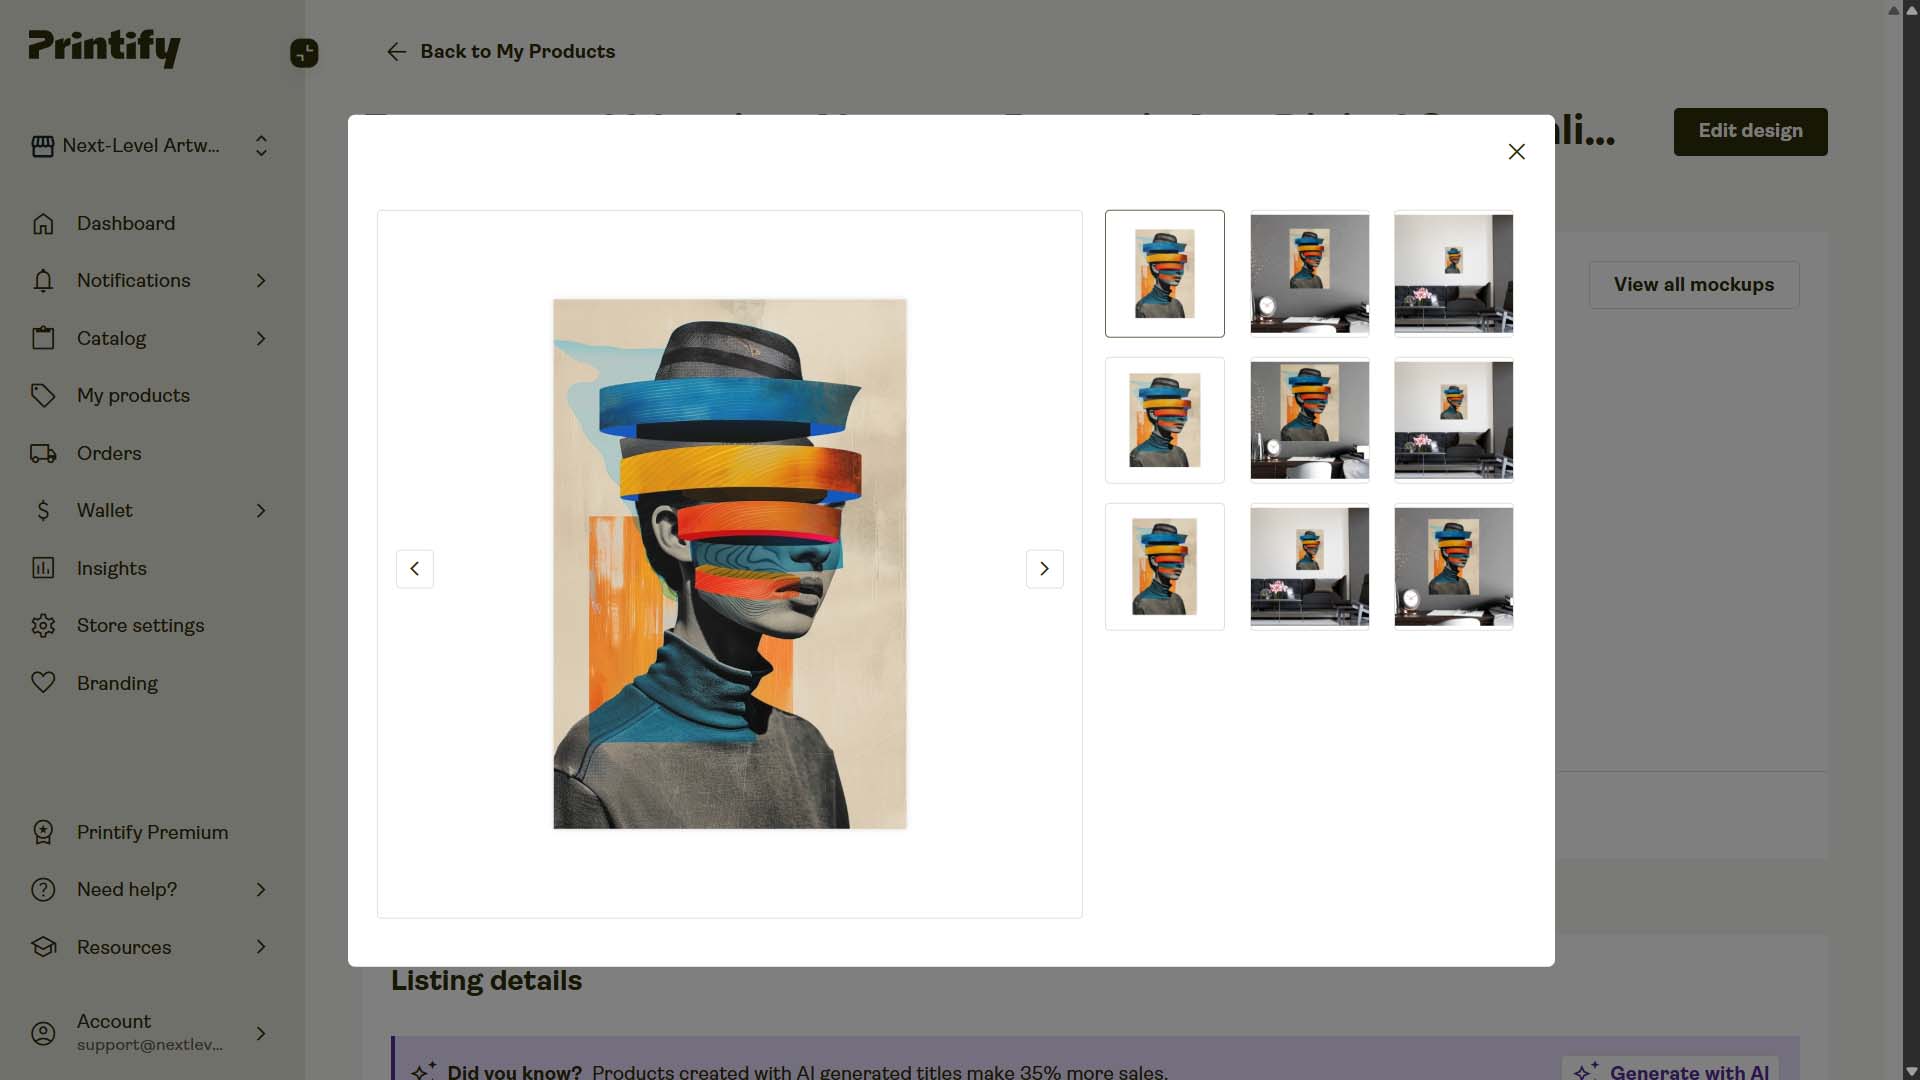
Step 1: Select Images & Placement Settings
This step converts a folder of artwork into a pipeline input. You’ll select which images to use and how each image should be placed across your product’s print areas. The placement modes give you precise control without needing to pre-process files in Photoshop.

Placement Mode: Stretch Images To Fit Print Area(s)
What it does: Scales artwork to cover the entire print area—even when variant aspect ratios differ (e.g., 18×24 vs 20×30). Edge-to-edge coverage yields a clean, full-bleed aesthetic across wall-art products and other large-format items.
Why it’s valuable: Full-bleed consistency is hard to maintain manually; this setting removes endless nudging and trial-and-error. Since the tool applies the same rule across every size, previews look professional and uniform, which reduces buyer hesitation.
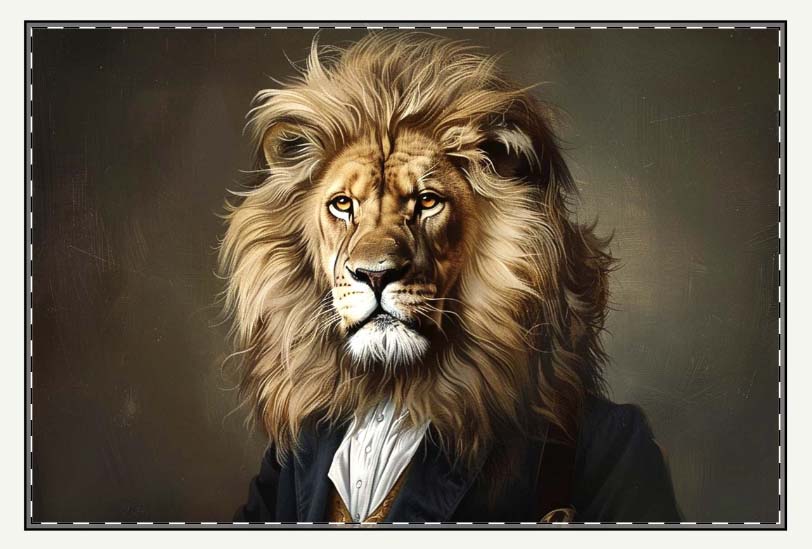
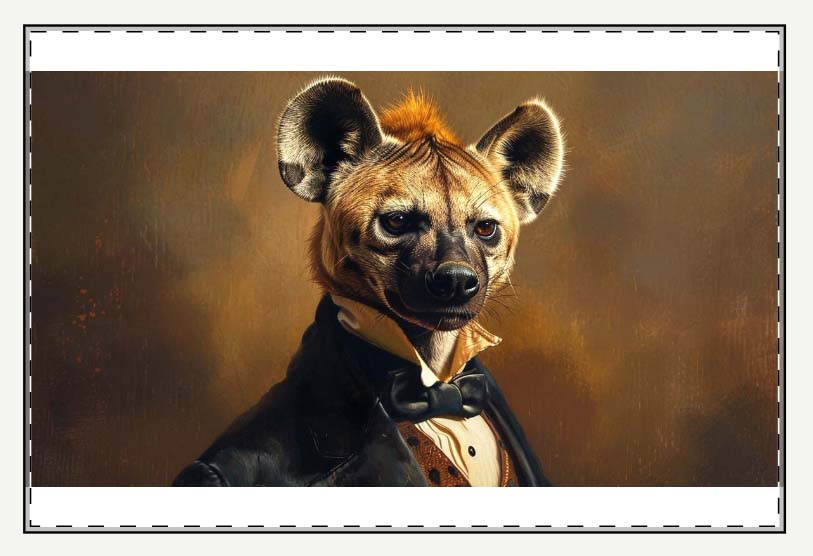
Example Use Case: You’re publishing a series of abstract expressionist prints where white margins would look accidental. Stretch-to-fit ensures every size fills the canvas so your collection grid looks cohesive and premium.
Placement Mode: Preserve Image Aspect Ratio & Center
What it does: Maintains the artwork’s original proportions and centers it within the print area. No distortion, no squashing—just proportional scaling with consistent alignment.
Why it’s valuable: Logos, typography, and geometric work lose credibility when stretched even slightly. This mode preserves visual integrity, which protects perceived quality and reduces returns stemming from “it looked warped” complaints.
Example Use Case: You’re launching a typographic series with crisp sans-serif quotes. Aspect-ratio preservation keeps letterforms sharp across all sizes—even if that means tasteful margins on certain variants.
Placement Mode: Exactly Match Example Image(s)
What it does: Mirrors the exact placement (size, x/y position) used in your Example Product. Pixel-accurate replication is ideal for products where alignment must be perfect (mugs, tote bags, wrap designs).
Why it’s valuable: Recreating precise placements manual-first is error-prone and slow. This mode standardizes output across a batch so every item hits the intended visual mark, preventing the subtle misalignments that cheapen a brand.
Example Use Case: You’ve perfected a wraparound mug layout with a logo at a specific handle offset. “Exactly match example” clones that placement for every new design in the collection—no re-measuring, no guesswork.

Hidden time-savers baked into these features:
- No Photoshop pre-processing required. Instead of exporting multiple aspect-ratio variants for each design, the tool handles scaling and centering across sizes automatically, cutting prep time to near zero.
- Automatic upscaling for print quality. The system can automatically upscale your artwork images so you meet print thresholds without leaving the workflow. That avoids the stop-and-start rhythm that kills batch momentum.
- Fewer micro-adjustments, cleaner grids. Consistent rules produce consistent previews, which makes both your Etsy shop grid and product pages look intentional—not cobbled together.
Step 2: Connect Store & Choose Example Product
Here you grant permission to create listings and you choose the “role model” product that defines the structure you want reproduced.

Connect your Etsy POD flow
What it does: You authenticate with a secure token so the system can create products for you. Once connected, you’re not shuttling CSVs around or clicking through the Etsy UI for every single listing.
Why it’s valuable: Direct creation eliminates the back-and-forth friction of manual uploads. The fewer surfaces you touch, the fewer chances for mistakes and the faster your batches move from “assets on disk” to “products in store.”
Example Use Case: You’ve scheduled a seasonal launch and need 120 listings live before a holiday cutoff. Direct integration hits that timeline; manual processes would slip.
Choose an Example Product (your “role model”)
What it does: You pick a single product already configured to your liking—variants, sizes, materials, and pricing. The tool clones this structure for every new listing in the batch.
Why it’s valuable: Standardization prevents the classic manual errors: missing a variant, botching one price tier, or forgetting a material option. It also compresses decision-making; you decide once, then scale that decision across the entire batch.
Example Use Case: Your “Wall Posters – 2:3 aspect ratio” product has the perfect size ladder and margin targets. By selecting it as the Example Product, every new poster adopts that exact ladder and pricing automatically.
What carries over from the Example Product
- Variant structure: sizes, orientations, materials, and defaults are copied verbatim so you don’t rebuild the matrix each time.
- Pricing and margins: per-variant pricing is preserved, protecting contribution margin at scale and removing the risk of fat-fingered entries.
- Placement logic (when selected): if you choose “Exactly Match Example,” the same pixel-accurate positioning is applied to every new design.

Compounding benefits of these features:
Error-rate collapse. Less manual typing equals fewer mistakes. When your catalog scales, even a 1–2% error rate is expensive; cloning a validated structure keeps defects near zero.
Faster iteration across collections. Need to introduce a new size or tweak margins? Update the Example Product once, then run a new batch. Iteration happens at the blueprint level, not by chasing down individual listings.
Speed with optionality. Save multiple Example Products—like “Square Canvas Wall Art” and “Unisex Heavyweight Tee”—and switch between them instantly. Moving from one product type to another becomes a dropdown choice, not a day of reconfiguration.
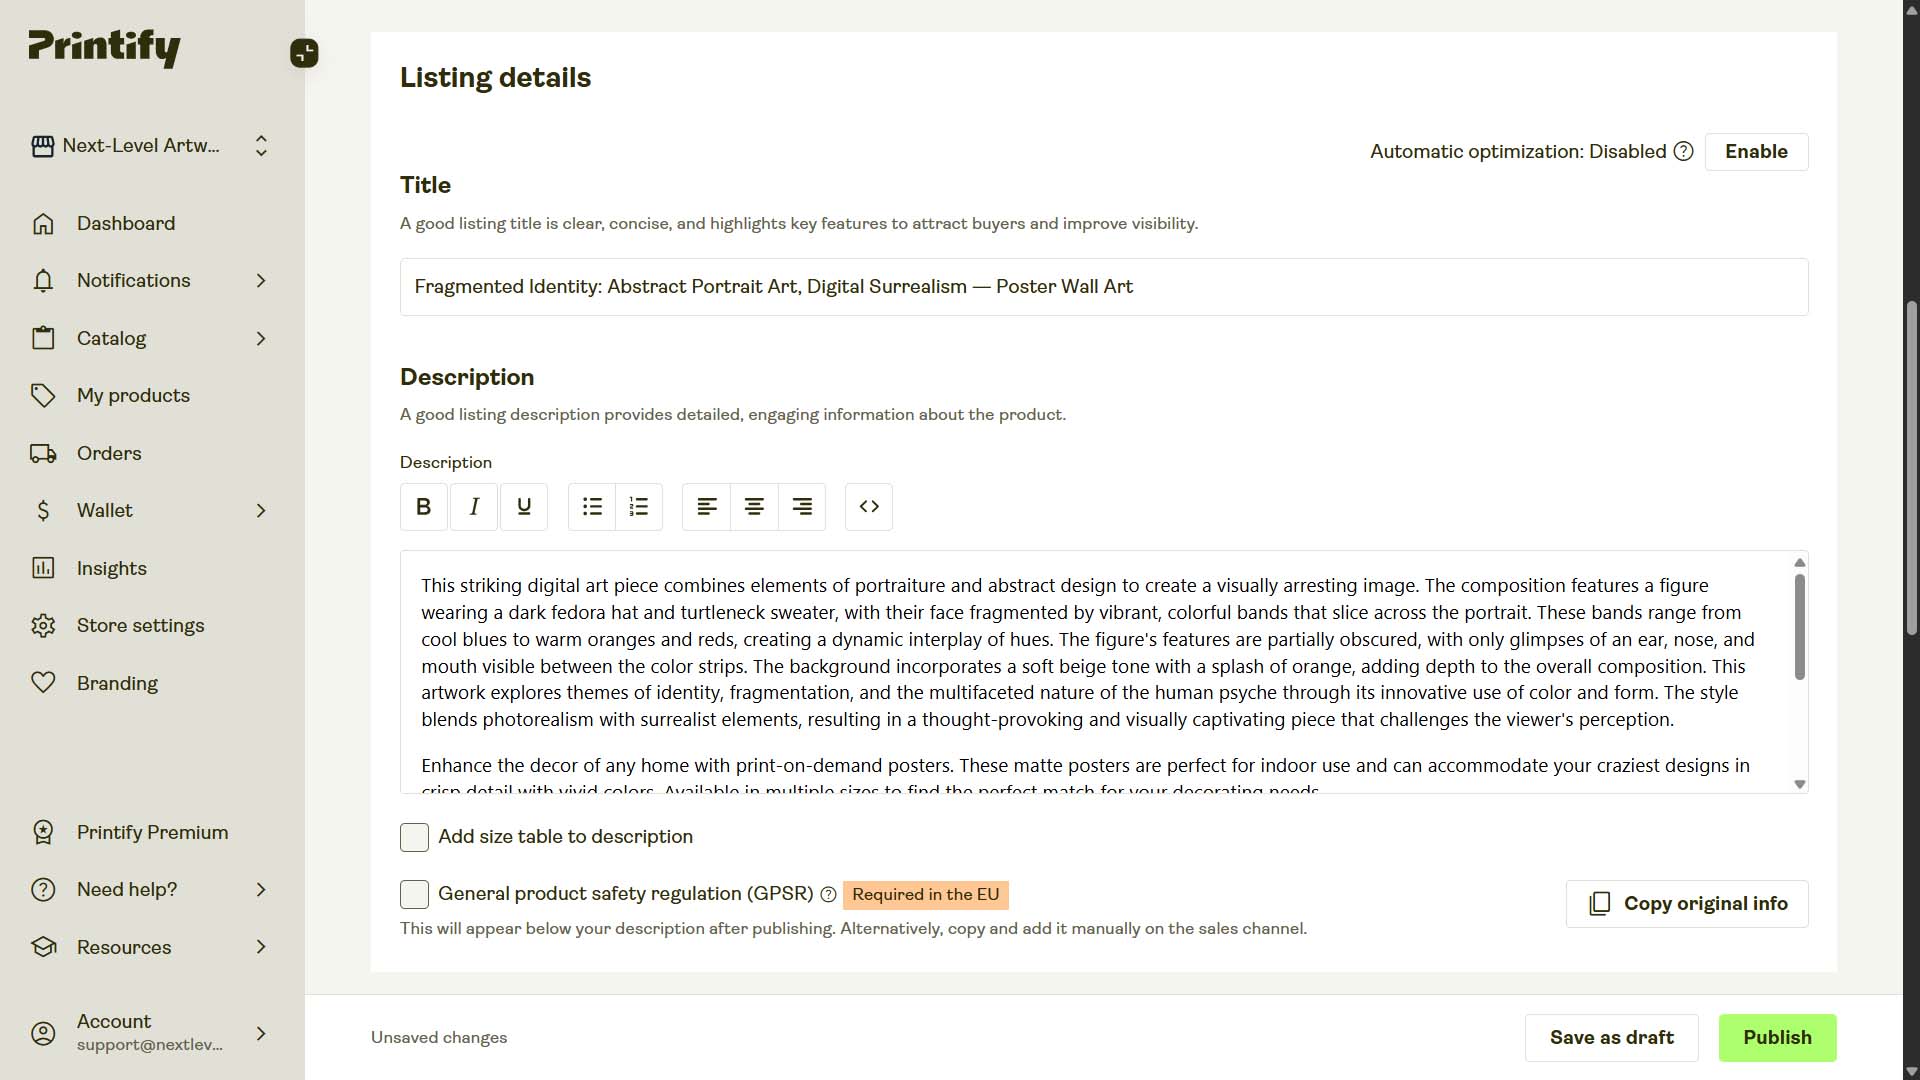
Step 3: AI Titles, Descriptions, and Tags
This is where automation takes the heaviest, most soul-draining part of the process off your plate: writing product info. Once your artwork is uploaded and your Example Product is chosen, the system applies AI image recognition to analyze each image. It looks at the subject matter, style, mood, and context, then produces highly accurate, long-tail keyword-rich titles, descriptions, and tags for every single product created.

In plain terms, here’s what the AI does:
- It looks at your artwork the way a human would—spotting what’s visually present and thematically important.
- It translates those observations into descriptive language that mirrors how real buyers search online.
- It generates optimized text inputs that describe the artwork and align with SEO best practices—ensuring your listings actually get discovered.
Instead of sitting at your keyboard writing metadata one by one, the AI handles everything for you—consistently, accurately, and at scale.
AI-Generated Titles: Simple and Compound Formats
You can choose between simple titles and compound titles:
Simple titles are straightforward, e.g., “Desert Echoes.”
Compound titles are extended versions of the simple title, with AI-generated subtitle segments that add SEO depth, e.g., “Desert Echoes: Wind-Sculpted Dunes, Minimalist Landscape Photography”
Optional custom text (prefix or suffix) can be layered onto either type:
- Prefix example: “Poster Print: Desert Echoes: Wind-Sculpted Dunes, Minimalist Landscape Photography”
- Suffix example: “Desert Echoes: Wind-Sculpted Dunes, Minimalist Landscape Photography — Large Canvas Wall Art.”
This gives you both AI-driven SEO richness and the ability to align with product-level search queries.

AI-Generated Descriptions with Custom HTML Options
The AI also generates detailed descriptions that highlight the subject and appeal of the artwork. These aren’t filler—they’re keyword-rich, natural-sounding, and distinct per product.
On top of that, you can insert custom reusable HTML blocks for details like:
- Apparel: fabric blends, sizing info, washing instructions.
- Posters/canvases: materials, hanging notes, frame details.
This hybrid of AI uniqueness + standardized HTML makes your descriptions both SEO-optimized and practical for buyers.
AI-Generated Tags with Custom Layering
For tags, the AI provides a diverse set of long-tail-rich keywords drawn directly from image analysis. You can then add your own batch-level custom tags, ensuring important terms (like “poster print” or “Halloween Collection”) always make it into the mix.
This dual approach balances automation efficiency with manual strategy.
Why this matters:
- Massive time savings. Writing metadata for hundreds of products is boring and slow. The AI generates fresh, unique copy for product #1 and product #500 alike.
- No last-mile fatigue. Humans taper off under repetition; the AI doesn’t. Consistency stays perfect across every listing.
- Vocabulary diversity. No more recycling “beautiful artwork” or “minimalist design.” The AI pulls from a broad descriptive pool to expand your SEO footprint.
- SEO firepower. Every product becomes a standalone SEO landing page—titles, descriptions, and tags optimized to capture traffic.
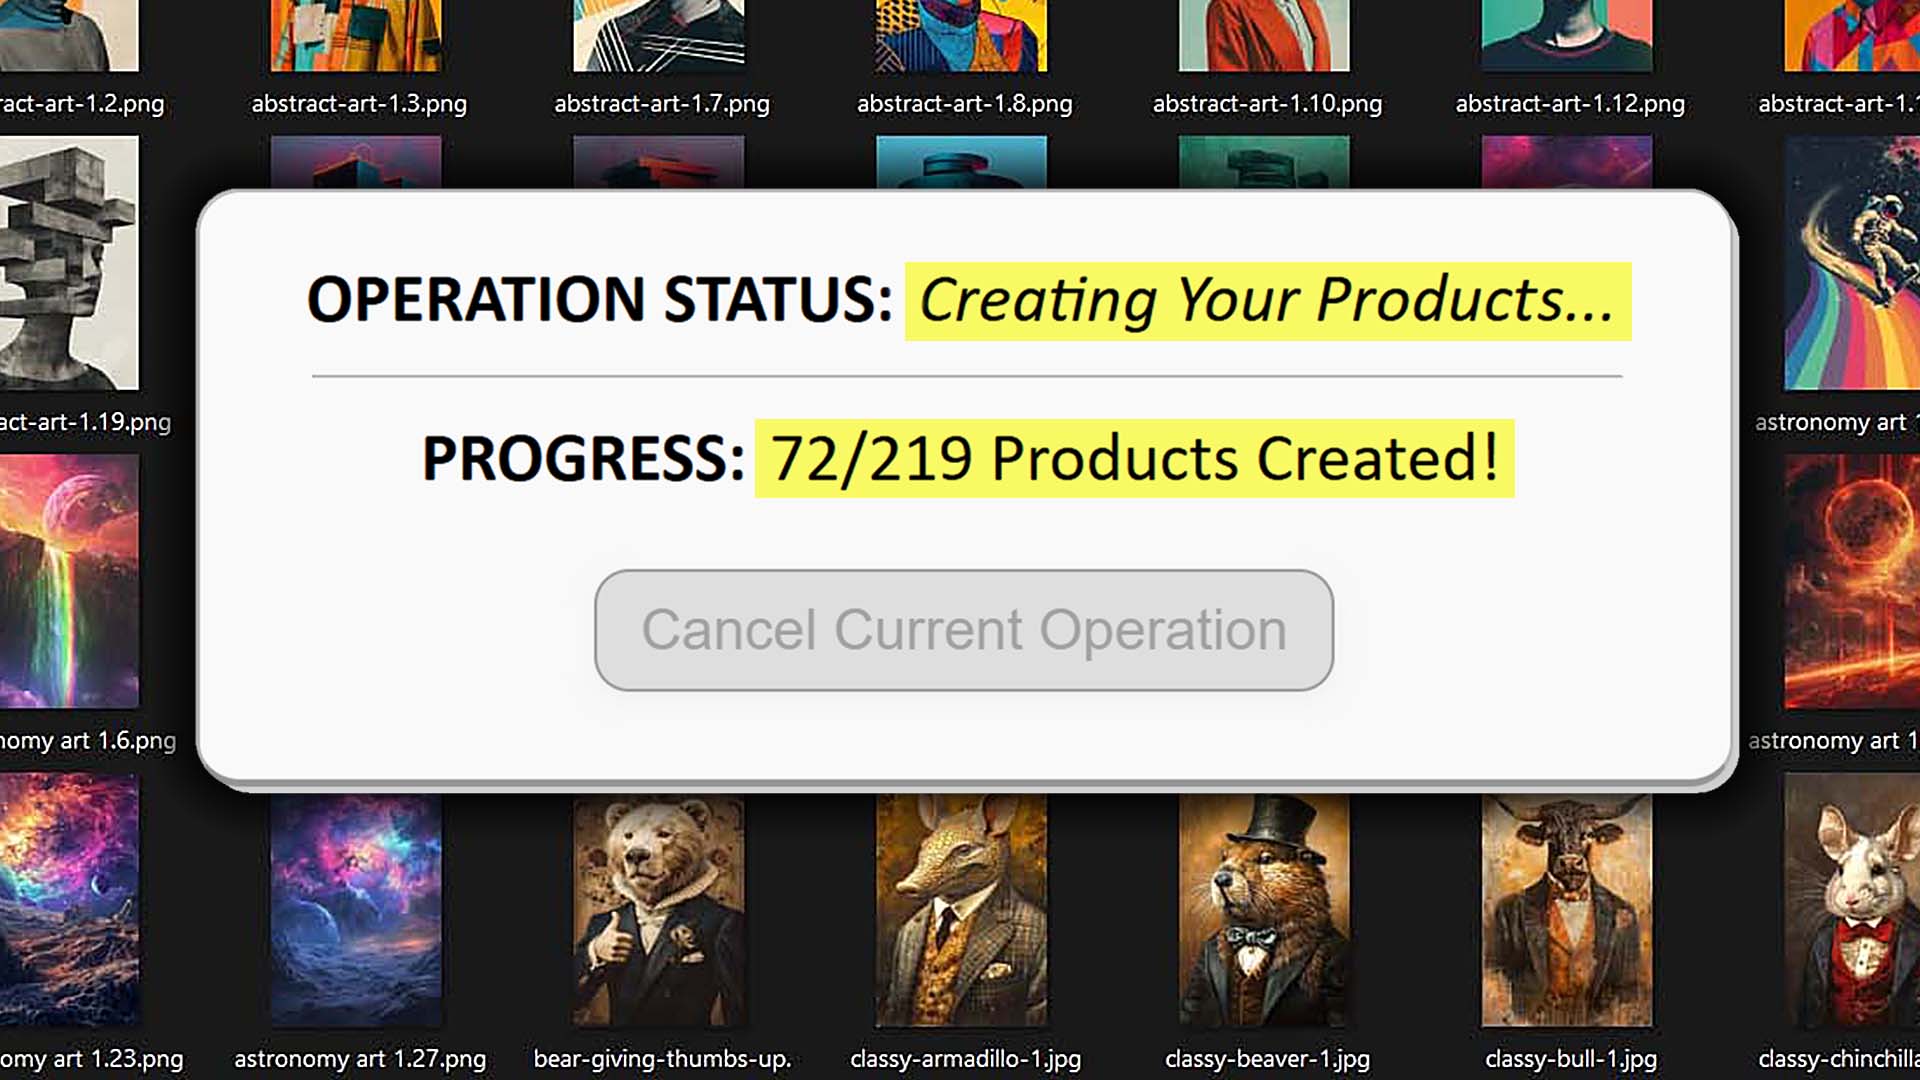
Final Step: Click “Create My Products”
After defining your rules, the last step is literally clicking a button. From there, the Bulk POD Product Creator executes everything:
- Cycles through your images.
- Applies placement/resize settings.
- Clones your Example Product’s variants and pricing.
- Generates AI titles, descriptions, and tags.
- Publishes fully-formed products into your Etsy store.
Everything is automated. No manual resizing. No metadata copy-paste. No endless repetition. Just dozens—or hundreds—of ready-to-sell products live in your store.

Saved Operations: One-Click Reuse
Here’s where things go from efficient to absurdly streamlined. With saved operations, you lock in every choice—placement rules, Example Product, title/description/tag settings, HTML blocks, and custom tag sets. Next time, you don’t rebuild a thing.
Instead:
- Select your saved operation.
- Load it—all settings instantly apply.
- Drop in your new images.
- Click “Create My Products.”
Example Use Cases:
- You maintain separate “lanes” for product types, like “Square Canvas Wall Art” vs “Unisex Classic Tees.” Each one has its own saved operation. Switching between them takes seconds.
- You’re launching seasonal collections. By saving a “Halloween Posters” operation with specific custom tags, HTML, and an Example Product, you can replicate the same polished structure every October with no setup.
The time savings compared to manual uploading are obscene: what used to take days now compresses into minutes.

Additional Technical Details
Some extra facets of the Bulk POD Product Creator that weren’t emphasized above:
- Images are automatically upscaled to high resolution, ensuring they meet print-quality standards across all product sizes.
- Concurrent processing: Multiple images are processed at once, so even massive batches don’t bottleneck.
- Variant-level precision: You can define specific rules that apply differently across product variants. For example:
- On posters, you might want the 24x36 size priced aggressively for visibility, while keeping smaller 12x18 prints priced at premium margins.
- On apparel, you could set unisex t-shirts to follow a $19.99 baseline but configure hoodies to start at $39.99, maintaining consistent margins across each category.
- On canvas prints, you might set frame thickness defaults differently for large vs. small sizes, while still generating them all from the same batch of artwork.
Example Usage Of The Tool For Etsy: Bringing It All Together
Imagine an Etsy seller named Sarah who specializes in nursery wall art for new parents. She has 60 new watercolor illustrations she wants to launch.
- Step 1: She drops the 60 files into the uploader and selects “Stretch Images To Fit Print Area(s).” This ensures that her artwork images span the entire poster area for across all selected variant sizes.
- Step 2: She chooses her Example Product: “Wall Posters – 2:3 Aspect Ratio” with sizes and prices dialed in. Every new product clones this structure.
- Step 3: She lets the AI generate titles, descriptions, and tags. The outputs read like “Sleeping Bunny Under Moonlight: Whimsical Watercolor, Adorable Animal Artwork.” She appends a suffix of “— Poster Print for Baby Room Decor” to align with how parents search.
In under an hour, Sarah bulk-creates 60 Etsy-ready listings—each with consistent placement, professional structure, and rich metadata.
The benefits:
- Her products rank for specific buyer queries like “nursery wall art watercolor bunny”.
- Her shop grid looks consistent and trustworthy.
- She saves days of manual effort, giving her bandwidth to focus on marketing her new collection instead of slogging through uploads.
Conclusion
The Bulk POD Product Creator transforms the most painful, repetitive part of Etsy POD—manual uploading—into a streamlined, automated pipeline.
It eliminates busywork, enforces consistency, leverges AI for SEO-optimized metadata, and frees sellers to scale catalogs and revenue without scaling effort.
For serious Etsy POD sellers, this isn’t optional—it’s the lever that turns a small side hustle into a fast-growing business.